
How to Conquer Takagi Kofun and Claim Death’s Bloom Teppo in AC Shadows
I still remember the first time I approached Takagi Kofun deep inside Harima’s Kanki Burned Fields. If you’ve played Assassin’s Creed Shadows this year (it’s 2026 now, but the game’s still as thrilling as launch), you know kofuns are these eerie underground tombs filled with secrets, enemies, and legendary gear. But Takagi Kofun? It’s a whole other beast. Not only does it sit smack in the middle of Takagi Castle’s heavily guarded grounds, but it also demands you bring Yasuke — the samurai powerhouse — to smash through obstacles and fend off armed guards inside. I’m going to walk you through the entire process, from breaching the entrance to grabbing the legendary teppo, Death’s Bloom.
Here’s the thing: Takagi Kofun isn’t accessible to Naoe. You’ll need to switch to Yasuke before even setting foot inside the castle. If you’re like me, you might try sneaking around as Naoe, but trust me — the kofun entrance is sealed by a huge stone slab that requires an explosive solution only Yasuke’s brute force can deliver. So, once you’re in the Takagi Castle area, use Yasuke’s shoulder bash to break down the wooden doors leading to the courtyard where the kofun sits. There will be enemies everywhere: patrols, archers, brutes. You don’t need to clear the entire castle, but at least eliminate the guards clustered around the tomb’s entrance. I found it safer to thin them out so I could focus on the puzzle ahead.
Now, look around near the sealed opening — you’ll spot a large explosive jar. Pick it up and drop it right into the entryway’s alcove. Then take out Yasuke’s bow and shoot the jar. 💥 Boom! The explosion clears the rocks, and the descent into darkness begins. This first step always gives me a little adrenaline rush, because once you’re inside, there’s no turning back until you’ve dealt with the threats below.
The Descent: Enemy Engagement and Puzzle Rooms
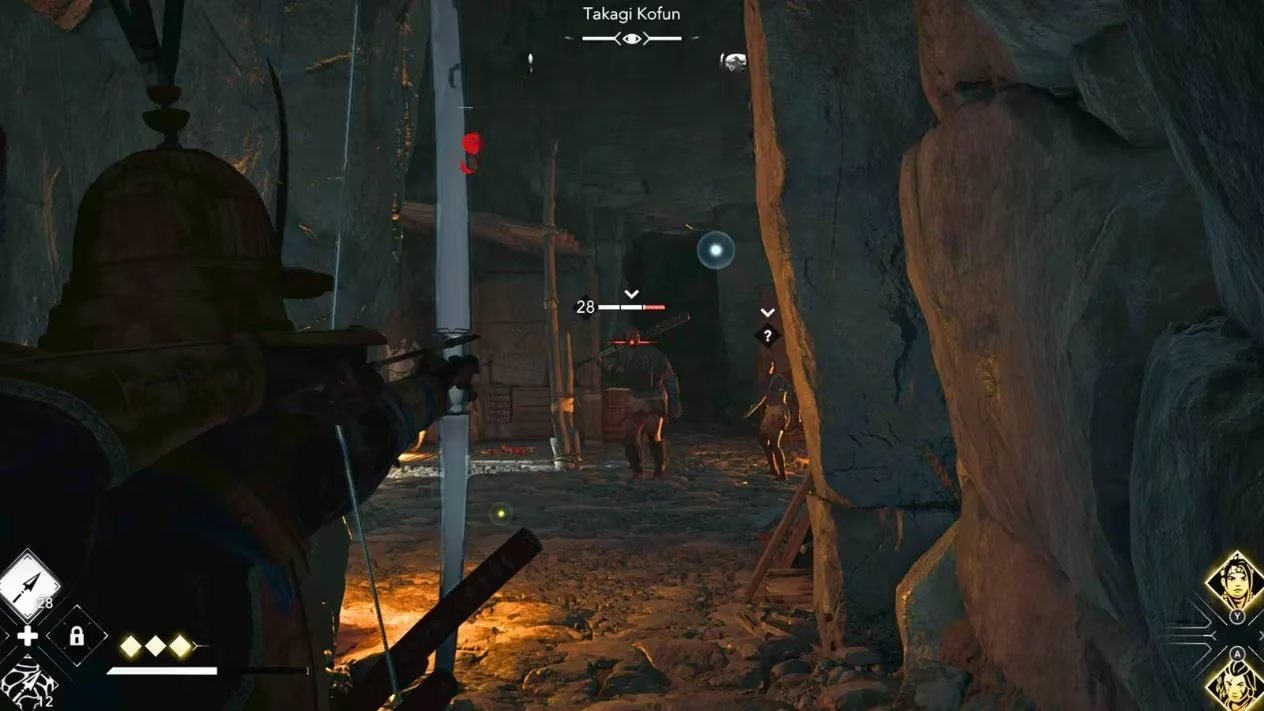
The stairway leads down into a large chamber lit by flickering torches. Almost immediately, you’ll hear enemy chatter. In my playthrough, about four guards were waiting. Yasuke’s odachi or kanabo made short work of them, but watch out for those pesky archers on elevated platforms. After clearing the room, look to the right. You’ll see a bamboo-covered wall next to an enemy flag — push through it to find a narrow path. Follow it and climb up onto a rocky ledge. This hidden route is easy to miss, so keep an eye out. I spent ten minutes wandering my first time because I ignored that right-hand turn.
Crouch into the crawlspace ahead. On the other side, an archer is usually posted. Take him out silently if you can, but Yasuke isn’t exactly built for stealth, so a quick sprint and slash works fine. Continue through the winding cave until you reach another group of enemies. This area has a small side room with an explosive jar — grab it. Now here’s where it gets a little tricky: you need to spot the weak wall. It’s on the right side, just after a bloodied slope. Place the jar against it, step back, and detonate with an arrow. The wall crumbles, revealing yet another cramped passage.
Crate Puzzle and Reaching the Upper Level
After squeezing through, you’ll enter a room with a massive crate. The layout is a bit vertical here, with a high ledge that seems unreachable. Push the crate that’s blocking a hidden room off to the side — this reveals a small alcove containing another explosive jar. But don’t just run into that room yet. First, you need to solve a positioning puzzle that stumped me initially.
Here’s a quick breakdown of what I did:
-
Dragged the original crate out of the hidden room’s entrance and moved it into the main chamber.
-
Positioned the crate directly under the upper ledge, creating a makeshift platform.
-
Retrieved the explosive jar from the hidden room, climbed onto the crate, and threw the jar up onto the ledge above.
-
Tossed it towards the clearly weakened wall up there.
Once the jar explodes, the wall on that upper section disintegrates. Now you can use the crate to climb up, crouch through another crawlspace, and emerge in the next area. I love that the game forces you to think like a siege engineer here — typical Yasuke stuff.
Final Confrontation and the Legendary Chest
The corridor leads to one last group of enemies. They’re not tougher than the earlier ones, but they do tend to swarm. Use Yasuke’s heavy attacks to break their guard, and if you have the “Brutal Assassination” skill, you can thin them out before engaging head-on. Once the area is secure, grab the explosive jar that’s always located nearby (usually in a corner) and blast through the crumbling wall on the left side. That final detonation reveals the legendary chest resting in a small room adorned with ancient carvings.
And now for the reward you’ve been fighting through all this for. Open the chest and you’ll receive:
-
Death’s Bloom: a legendary teppo that looks absolutely stunning, with floral engravings and a dark iron finish.
-
A unique perk: Quick Reload — dramatically reduces the reload time of any teppo. This perk can be engraved onto other legendary teppos later, making it a key piece for any ranged build.

I’ve been using Death’s Bloom in encounters across Harima, and the quick reload is a game-changer, especially when enemy archers pressure you from multiple directions. Pair it with armor that boosts ranged damage or reload speed, and you’ll turn Yasuke into a walking artillery unit.
Exiting the Kofun
After looting the chest, you’ll notice a sloped passage just to the side. Slide down it, and you’ll emerge near the original entrance — well, now an exit — outside the castle. You can fast travel away, or if you’re feeling bold, take out any remaining guards for extra XP. I usually clear the castle fully to make future visits easier.
Takagi Kofun might be short, but it’s dense with combat and environmental puzzles. The fact that it requires Yasuke adds a layer of strategy you won’t find in Naoe-only tombs. By 2026, many guides exist, but I hope this first‑person account helps you navigate the darker corners of Harima. See you in the next kofun! 🏯
Comments